**Editors Note: This guide contains spoilers in regards to Bloodborne’s story. If you haven’t beaten Rom, read at your own risk!**
We here at COG continue to fight the fight, or in this case, play Bloodborne’s DLC, The Old Hunters, and throw a controller or two. Bloodborne was a tough game on its own, and The Old Hunters DLC adds new content that continues with the brutally hard difficulty of the game. With that being said, we continue to put our writers at risk for high blood pressure as they play the DLC in search of the ways to beat each boss. This article is number two of a five article strategy guide focusing on each of the new DLC’s bosses. First we had Ludwig the Accursed, now we have The Living Failures.
Boss Weaknesses:
- Any weapon with +% damage to kin. Like Ludwig, these things aren’t even close to human, but they are more on the cosmic side of things.
- Co-Op makes this fight go much quicker than if you’re on your on.
- Well, they’re failures.
The Research Hall has to be one of my favourite areas across any of the titles from From Software. It’s an incredibly well designed area that feels like it shouldn’t take you much time to traverse, but the sheer verticality of the level really works to its favour. It’s also easily one of the spookiest areas in the game, and it helps fill in a few questions about how The Healing Church managed to actually make contact with what would later be known as Great Ones, many of the bosses later on in the game. Fortunately, the boss(es) of this location are not nearly as intimidating as our many-legged friend from the last guide, but it’s still a pretty fun boss, where Co-op is HIGHLY encouraged.
The Living Failures
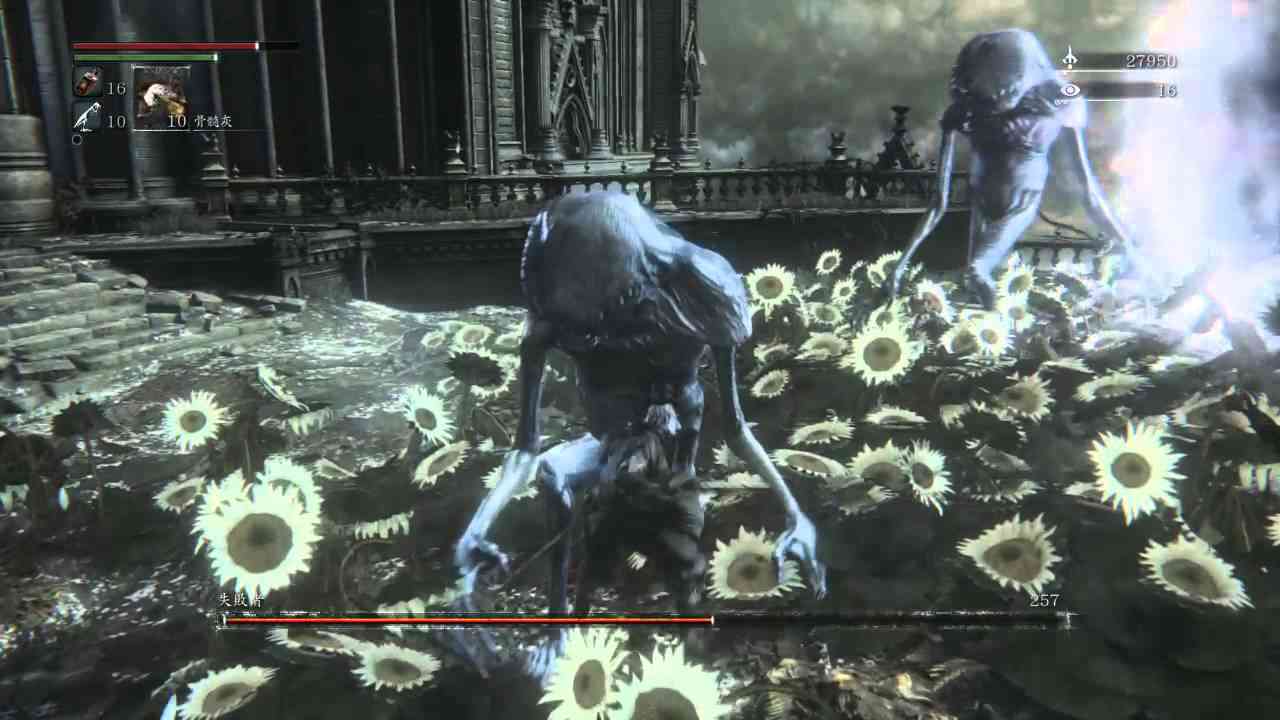
Unlike Ludwig the Accursed, the Living Failures is not a multi-phase boss, but rather a multi-enemy boss. Don’t let the fact that they are tending to a giant sunflower field fool you, these guys still pack quite a punch, but aren’t NEARLY as aggressive as the previous boss. As you enter the fog gate, various deformed enemies stand before you, looking somewhat similar to the Celestial Emissary from the base game. There are two different types of attacks to be mindful of, as the Failures like to mix it up between using melee attacks and various kinds of magic. The melee users can either be parried or backstabbed, and their slow timing of their attacks allows for you to pull this off fairly reliably. I’d recommend the backstab route, as they tend to have a bit of recovery time during their large sweeping attacks, and it’s dangerous to stay around their front. The casters make use of slow moving orbs of magic, as well as a quasi-like portal that summons a number of slight homing projectiles that will gradually follow you. If you managed to find the Loch Shield in The Research Hall I really recommend its usage. It does very little to block melee attacks, but it’s downright stellar for handling elemental and arcane damage.
The casters actually prove to be more of an issue. You’d assume they are weak at close range, but they aren’t shy about making use of the head-slam attack in order to try and deter you. They also incorporate other attacks that make use of their magic in combination with their inhuman strength, and will either slam the ground with both fists, before setting off an arcane explosion. They will also use this attack without the aforementioned slam, and simply channel it in front of them briefly. As with Ludwig’s second phase, you want to stay behind these things at all points of the fight, and you want to keep moving, as they will attempt to overwhelm you with numbers.
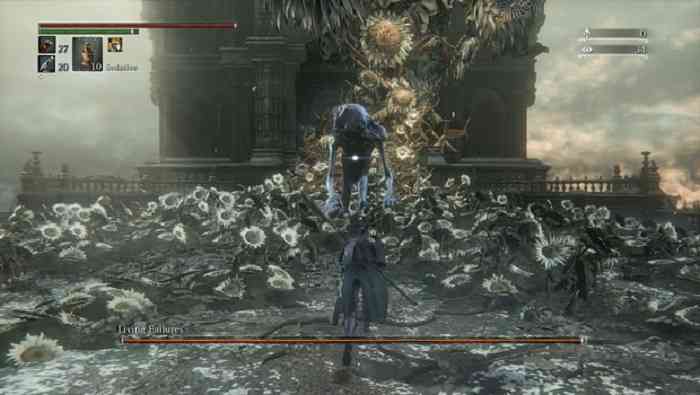
As you chip away at the various enemies, more come to take their place, but there will never be more than four at a time at least. The reason I recommend co-op in this case is it becomes a much quicker boss fight. If you take this on solo, you’ll be playing a lot of hit and run, and it can drag things out. As you get towards 50% of their health, they begin to incorporate a new attack, which looks insanely cool. The failures will all raise their hands and begin to summon a meteor shower, and you need to get somewhere that will protect you from an attack that is quite literally out of this world. Fortunately, the meteor blasts always seem to come from the right side of the arena when you first entered, and you can seek shelter near the large sunflower in the middle on its left side. The other key part of this fight to remember is that you can’t out-DPS them. There will always be more coming, so don’t get greedy. As you kill one failure, another will spawn, but they will be vulnerable, so be sure to get some extra damage in there to help speed this fight along!
If you make use of these tips, and perhaps a resonant bell summon or two, you’ll receive The Astral Clocktower Key, 22,000 blood echos, a shiny new trophy, and the path to the next fight becomes immediately clear. We’ll make our way to the Astral Clocktower, and continue to find out what lies in wait in The Hunter’s Nightmare.