*Editor’s Note* This guide contains spoilers in regards to Bloodborne’s story. If you haven’t beaten Rom, read at your own risk!
If you’re looking for a game to test your patience you obviously need not look much further than Bloodborne. You could also consider it a game worthy of testing your strength as you grip harder and harder on to your controller with every unmerciful death. If you’re controller is still in tact, perhaps you’re not as strong as you think you are. All kidding aside, we know that Bloodborne is not for the meek. Bloodborne: The Old Hunters is even more brutal as the DLC pits you against five new bosses, each more monstrous than the last. If you’re just jumping in now you can check out our guides to defeating Ludwig the Accursed and The Living Failures, the DLC’s first two bosses before attempting Lady Maria.
Boss Weaknesses:
- Maria can be parried and some of her attacks have good chances to parry. Just don’t get parried yourself.
- Don’t be ashamed if you had to summon. Maria hits like a truck.
- Visceral attacks are you best friend, equip runes that synergize with them, such as Clawmark.
Building upon the research hall, we heard many of the enemies mutter about “Lady Maria”, and the Astral Clocktower is home to this tough as nails boss. She’s almost as difficult as Ludwig, but the fact that she is prone to being parried is a huge relief. For those who’ve beaten the game, the final boss (not the final final boss, the one before) fights very similarly, and if you’ve fought them, you’ll be right at home dealing with Maria’s movesets. She’s even got similar phases, and between 100, 50 and 25%, she’ll throw an onslaught of attacks your way, all while being accompanied by one of the best songs in the entire game, and what’s honestly one of the most fun fights in the entire game as well.
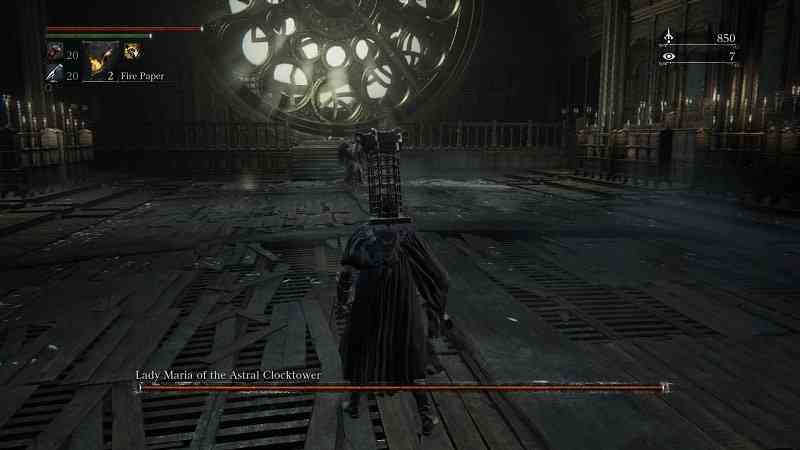
Lady Maria of the Astral Clocktower
The fight with Lady Maria admittedly starts off slowly. She doesn’t chase you down like other bosses, but she may make use of a wide, sweeping attack to your left to help close the distance. This is easily avoided, but it can deal a lot of damage, so be mindful of the possibility that it can happen. Maria’s first phase is a lot of staggered attacks, and the timing can throw one off. If you’re an arcane user, you can use the Augur of Ebrietas, if you have it, or the Executioner Gauntlets to stagger her effectively to buy yourself a bit of a breather. Augur has an added bonus of potentially opening her for a visceral attack, and the same goes for users of guns as well. A well-time shot will leave her wide open for a highly damaging visceral, and this can be done at all three phases of the fight. Be mindful of her attempts to parry you as well. Her visceral attack hurts a ton, and is an instant kill, if you don’t have a high enough amount of Vitality.
As you whittle Maria down to roughly 50% of her health, she’ll activate her trick weapon’s special ability, wherein she empowers it with her own blood. She gains a massive range/damage boost, but the motions are mostly the same, minus a large overhead sweep. This attack one-shot me a few times, and as such you’re going to want to avoid the same fate. All of Maria’s attacks all seem to be focused on a cone in front of her, and slightly behind her in some of her phases, she doesn’t really make use of sweeping attacks, minus her gap closer, and so long as you make a point to dodge away to the sides instead of dodging through her attacks, you should get through unscathed. Her third phase is interesting though, and deserves a further breakdown.
In the last phase of her fight, Maria will be able to ignite the blood trails left by her weapon, adding a lingering hitbox that can damage you if you aren’t careful. Maria’s moveset will remain largely the same, however she gains access to a new attack in which she charges up a large area of effect explosion. This is something you don’t want to get hit by, but as always, it has a large window to evade it. She’ll often do this back to back, so be wary before hopping in after the first blast goes off. An interesting item to note is that she can still be parried in this phase, but the timing is much more particular, and I wouldn’t recommend going for it, unless you can get the timing down. Molotovs are actually surprisingly effective here, and you can even make use of other hunter tools, such as The Old Bone, but adopt a more defensive strategy, playing a hit and run style. Eventually, you should be able to fell Lady Maria and free her from the Nightmare, and receive the Celestial Dial. Hold it up to the massive clock in the background, and you’ll soon come up on the final area of the game, where the curse laid upon Yharnam all started. We’re off to The Fishing Hamlet.