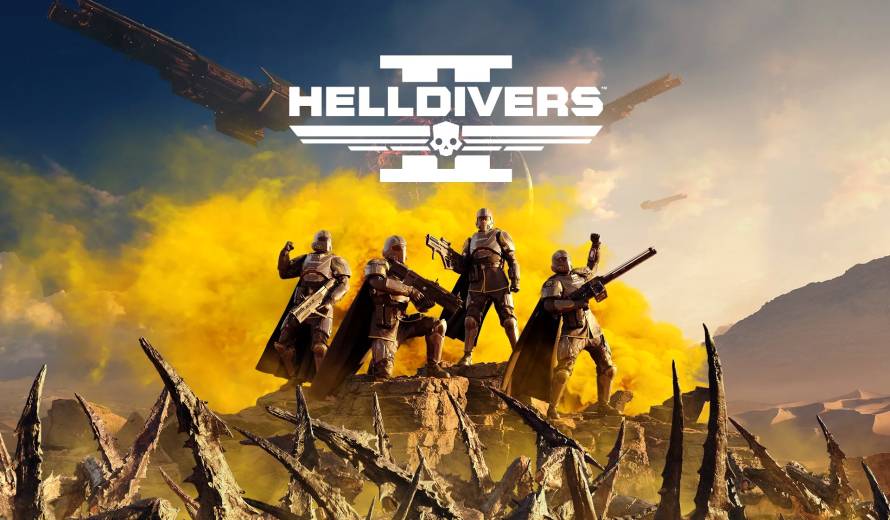
Navigating the Threat of Heavy Automatons in Helldivers 2
In the ever-intense battleground of Helldivers 2, a new mission directive emerges: eliminate 15 Devastators. If your nights have been plagued with restless anticipation of this daunting task, you’re not alone. As we engage in the relentless campaign against the formidable Automatons at Malevelon Creek, sleep becomes a rare luxury. Amidst the onslaught of standard Automatons and the looming presence of the menacing Devastators, the Helldiver’s resolve is put to the ultimate test. Here’s a comprehensive guide on locating and neutralizing these formidable foes.
Devastators represent a significant escalation from their skeletal counterparts, boasting formidable armor plating that shields their entirety except for their glowing red visages. Armed with powerful automatic rifles, their robust defense renders standard weaponry ineffective, necessitating strategic precision in combat engagements.
It’s imperative to discern between Devastators and larger chainsaw-wielding automatons, as only the former count towards fulfilling Personal Orders. Devastators can be encountered throughout Automaton-controlled territories, often bolstering smaller robots in Bot Drops or patrolling planetary surfaces.

For those seeking to engage Devastators, planets within red zones offer ample opportunities for confrontation, with Malevelon Creek serving as a renowned battleground. While sporadic encounters may occur on Trivial difficulty, Defend missions on easy difficulty and above present the optimal scenario for engaging these adversaries in large numbers.
Exploiting Devastators’ vulnerabilities is key to prevailing in combat. Targeting their exposed facial regions or striking at their waist can swiftly dismantle these mechanical behemoths. The Breaker automatic shotgun proves particularly effective, though a variety of weapons, including grenade launchers and armor-piercing munitions, offer viable alternatives.
In solo engagements, leveraging potent Stratagems like the Guard Dog ‘Rover’ and deploying sentry turrets such as the Gatling, Machine Gun, and Mortar Sentry can provide invaluable support. Strategically positioning these assets in elevated locations enhances defensive capabilities and facilitates the extraction of civilians, ensuring mission success amidst the chaos of battle.
Armed with these insights and strategies, Helldivers can confront Devastators with confidence, turning the tide of war in the relentless pursuit of victory. So gear up, coordinate with your squad, and prepare to face the mechanized onslaught head-on in Helldivers 2. Victory awaits those who dare to challenge the formidable Automaton forces.